No products in the cart.

Is there a coffee maker that brews a single cup, is portable, and delivers espresso-like flavor?
That was the challenge tackled by Allan Adler, Stanford professor and inventor of the Aerobie frisbee. His solution was the AeroPress — a simple, compact coffee maker that uses a plunger mechanism to quickly extract flavor from coffee grounds into your cup.
The AeroPress uses the immersion brewing technique, delivering a smooth, rich, and full-bodied brew in minutes.
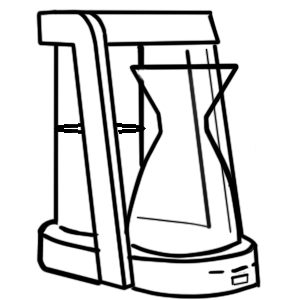
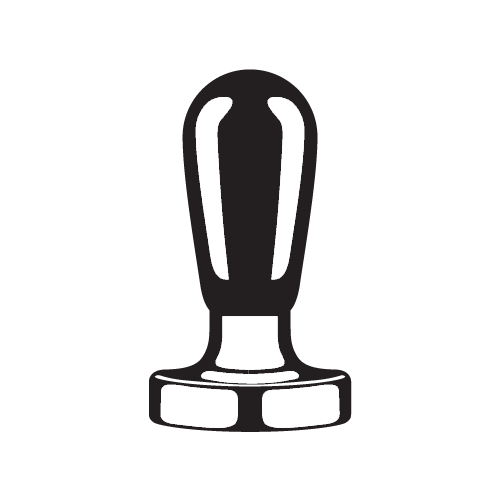
AeroPress
Ground coffee
Filter paper
Hot water
Coffee scale
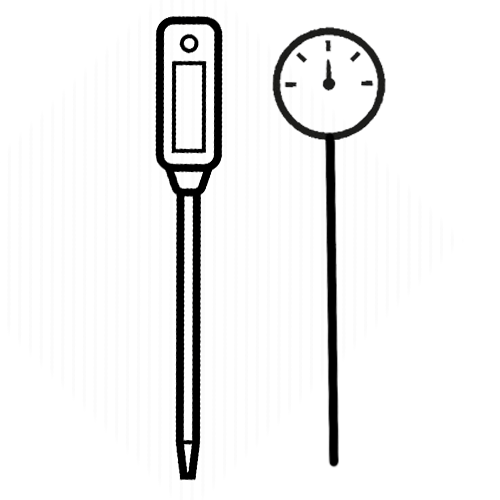
Timer
Thermometer
| Grind Size | Coffee:Water Ratio | Roast Type | Brew Time |
|---|---|---|---|
| Fine to Medium-Fine (slightly finer than sea salt) | 1:10 | Medium or Medium-Dark | 2 – 2.5 minutes |
Measurements
Coffee: 20 grams
Water: 200 ml
Yields: 1 cup
Heat fresh water to 200°F (93°C) using a thermometer.
Or, boil water and let it rest for 30 seconds.
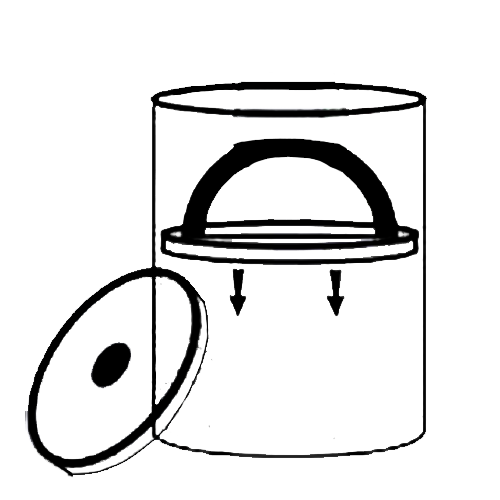
Place the inverted plunger on a flat surface.
Attach the inverted chamber on top.
Insert a paper filter into the detachable cap.
Rinse the filter and cap with hot water to help them seal properly.
Add 20 g of ground coffee to the chamber and shake to level it.
(Approximately 4 tablespoons or 2 standard scoops.)
Pour 200 ml of hot water (around 175°F) into the chamber.
Stir gently for 10 seconds.
Secure the filter cap onto the chamber.
Place your mug upside down on top, then invert the whole setup.
Insert the plunger and press down slowly and steadily.
Stop when you hear a hissing sound.
Remove the filter cap
Push the plunger to eject the used grounds
Rinse and wipe clean
Dilute the brew if desired.
Serve semi-hot and enjoy a clean, bold cup..